Hull-Down
Every experienced tanker knows that hull-down is one of the best positions you can be in if you’re driving any armoured fighting vehicle. That is because going hull-down – just like the name implies – keeps your vehicle’s hull hidden from the enemy. As a result, most weak spots are safe from incoming fire and the total exposed surface is limited to just your turret. This in turn makes you that much of a harder target to hit. As you know, the turret front is the most protected part of the vast majority of tanks, so if you’re in a hull-down position and have the enemy facing you from your barrel’s side, you’re virtually untouchable.
There are two ways to perform the manoeuvre: by using your gun depression or by using terrain for cover.
1st Method: Using Gun Depression
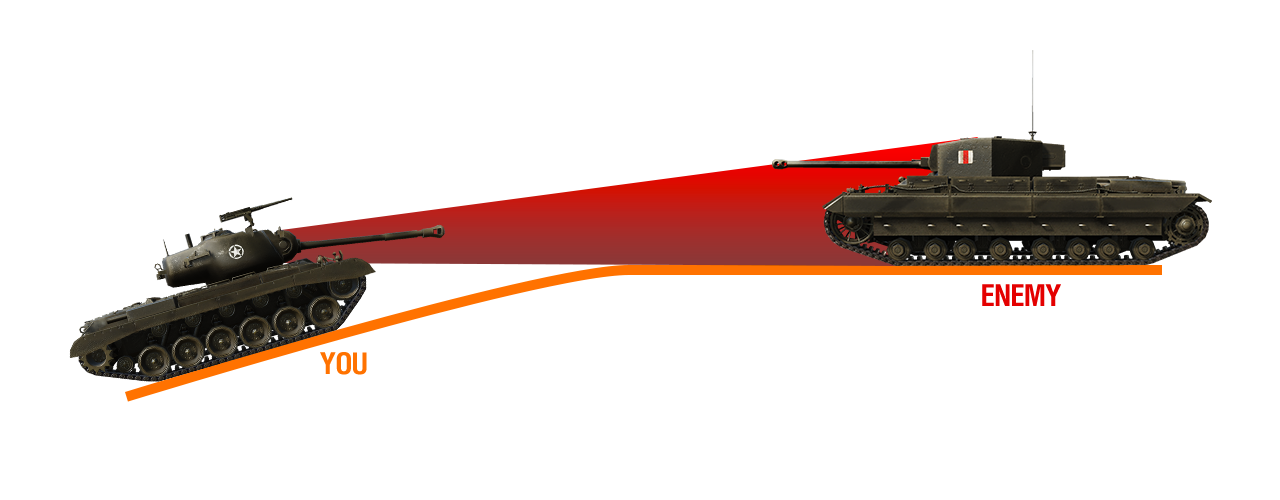
Gun depression is a term referring to the capability of your gun to be tilted down towards the ground. The higher the negative value, the lower your gun can go. Having a good gun depression allows you not only to aim at enemies from a higher ground, but it also enables you to use terrain irregularities, such as hills, to cover your hull and still be able to fire at the enemy effectively.
How do you use gun depression to go hull-down in combat? It’s relatively easy: first, drive uphill until you reach the edge of the acclivity, but be careful not to go too far. If you do, you risk exposing your vulnerable lower glacis to the enemy. Then, adjust your position in such a way, than only your turret is visible from the other side of the ledge. If you’re not sure if you have positioned your vehicle correctly, zoom out to maximum (mouse scroll by default), then press and hold the right mouse button and move around the mouse to change the view angles. Look at your tank from the front and see how much of it is visible from over the terrain from the enemy’s potential perspective – if it’s just the turret, then you’re good to go. Now you can just wait for the enemy to approach and then let them have it!
When shells start flying, it’s good to additionally move your tank up and down a little bit when reloading – when you’re in this variant of hull-down, in most cases the enemy’s only chance to damage you is to aim for your commander’s cupola. Moving around like that reduces the chances of them getting a good aim at the weak spot and consequently dealing damage to you.
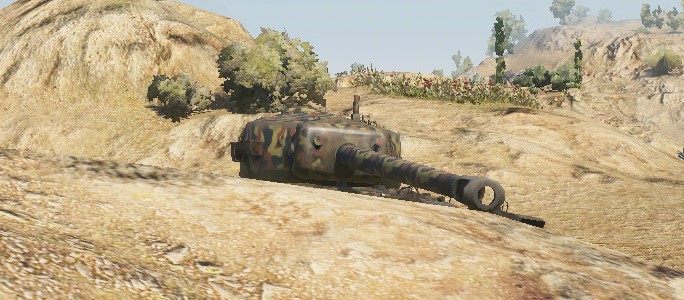
2nd Method: Using Terrain
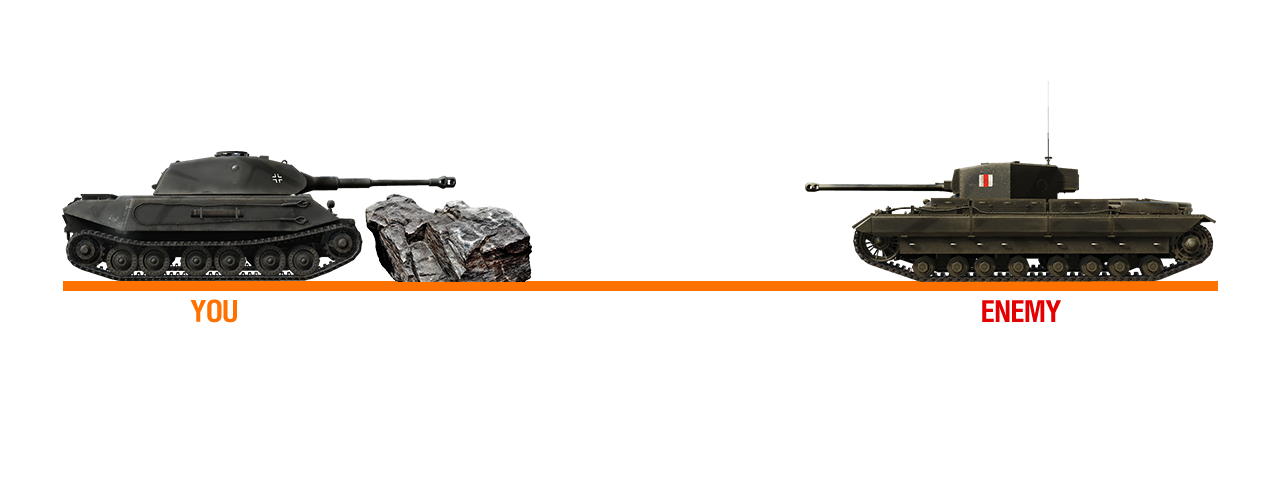
This version of the manoeuvre attempts to use various terrain obstacles as cover, such as heaps of debris, tank wrecks, rocks, small mounds and the like. Any tank can attempt this manoeuvre successfully, provided that you can find an obstacle large enough to cover at least your lower glacis.
When you notice a suitable cover in your vicinity, simply drive towards it until the front of your tank touches the surface, and you’re pretty much all set. Remember to make sure that it’s only your turret that is sticking out from behind the cover – you can use the aforementioned trick with zooming out and holding the right mouse button to check your position. Also, make sure that your sides and tracks are nicely covered too.
When under fire, it is good to slightly move around during reload in this position too – in this case, the enemy’s best chance to damage you is also to aim for your weak spots, so make sure to make their job as difficult as you possibly can.
Peek-A-Boo
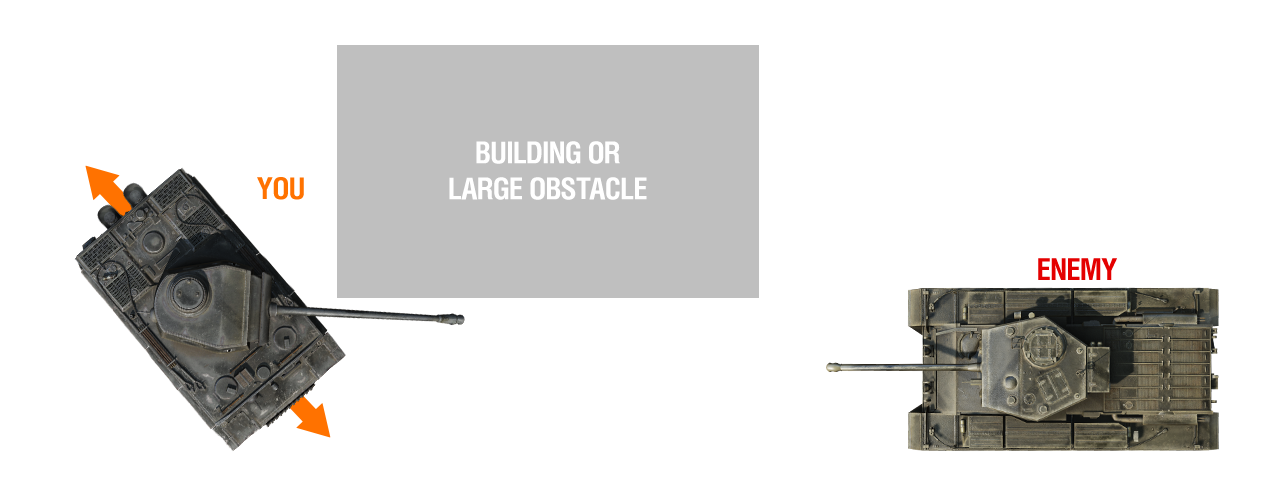
The name of this manoeuvre refers to a children’s game in which one of the participants surprises another one when they are not looking. It is a very fitting name for the manoeuvre as it employs the very same basic principle – surprising your enemy with an attack when they are distracted/focusing on something else. The manoeuvre is perfect for defending strategically important chokepoints on the map, and is most effective when you have at least one extra team mate with you, who can divert enemy focus from you.
The Peek-A-Boo is a very opportunistic tactic which requires a good deal of situational awareness as well as sense of timing on your part. When defending a chokepoint, you have to watch both the enemy in front of you and the movement of other hostile units on your minimap – when the former will help you in choosing the moment to strike, doing the latter may save you from being caught by surprise yourself.
How do you choose the right moment to strike then? If you’re certain that the vehicle in front of you is unaware of your presence, you can take a risk and jump out from behind a corner at any time, land a shell in their lower glacis or other weak spot, and then quickly retreat to reload. Otherwise, wait until the enemy either fires their gun and is vulnerable due to reloading or has turned their turret away from you far enough not to be able to return fire after your attack. Once that happens, simply jump out, land a shell and retreat before they can return the blow.
Vehicles with a very high rate of fire can take their chances landing two shells instead of one before retreating. If you want to try this, you need to have some experience under your belt and be able to assess the potential loading time of the tank in front of you. Otherwise, your plan can be countered rather painfully by the enemy’s retaliation. However, if it’s certain that you’ll manage to land two shells before your adversary can fire, it’s a good idea to use one of your shots to destroy their tracks, thus immobilising and priming them for your teammates, or stopping their advance altogether.