ANZBL Summary
This week saw the conclusion of the ANZBL with the finals to determine which team would take Season 3, as well as the match to determine our other ANZPL Finalist who would be taking centre-stage come the 25th of June. Let’s check out the results and see who came out on top!
Cairns Comets vs Bundaberg Badgers
With the prize of entering the ANZPL dangling in front of both teams, this rematch was certainly worth more than just bragging rights! The clash began on Cliff with the Comets committing two CS-63 and two fast heavies to the 2 line, getting some bleed on not only Phantom_Yamato as they crossed into the ‘donut’, but also onto Spencer when they arrived at F3! The Badgers seemed at a loss on how to proceed, eventually opting to push the 2 line with a S. Conqueror and a Batchat, with double Kranvagn pushing in from the middle. The HP was close, but the tank advantage eventually was all the Comets needed to push ahead and claim the first win.
Switching it up on defence, the Badgers brought a Strv 103 for sniping fire support in A5! The Comets immediately recognised the threat despite it being unspotted and were careful not to bleed HP to it. As the duel for the ramp intensified, Spencer was forced to drop off the side of the ramp, only to get stuck between the rocks! The comets were quick to capitalise on the tank advantage, shredding Fury and getting great cross-fire. With the Strv unable to support the Badgers, it was only a matter of time before the Badgers crumbled and the Comets were able to pick up a second win.
Now on Sand River, the pressure was on the Badgers to turn it around and with the defending side first there was no better opportunity to do so. Opting for a very static defence in the north, the Badgers bunked down to bleed the Comets on approach. The Comets brought an unusual loadout on their double Batchat 25ts – Low Noise, CVS and Optics! Managing to permanently spot AuzzieNoob’s Batchat 25t in the bushes. When the salvo arrived, he barely got out of his position with his tank intact! The Comets proceeded to get cap pressure on the 2 flag, while denying the Badgers map control but a decisive push from the Badgers saw Flaming go down and the Badgers turn the tables in one swift motion, leading to a messy brawl from both sides. When the sandstorm cleared, it was the Badgers walking away with a win.
The Badgers looked to keep up their momentum with an aggressive push through the north but stalled out with an impressive game of whack-a-mole from DarkKnight. Eventually rotating out, they looked to try and pressure the 2 flag but a sudden appearance from Pp_Power’s T110E5 saw the Badgers scuttling away with little hope to win a brawl. Despite getting a few great eliminations and having the tank advance, the HP was still firmly in the Comets favour and with time on their side the Badgers ran out of steam, granting the Comets their third win of the night.
Map 3 saw Murovanka being defended by the Comets, which would be a challenge for the Badgers to say the least. Fury managed to get to E1 early at the cost of a lot of his HP. Meanwhile AuzzieNoob secured the K line with his Batchat 25t but got spotted out by a stealthy DarkKnight. Eventually, the pressure arrived on the 1 flag, but the Comets lead by a solid 2000 HP. It was all over when DarkKnight executed AuzzieNoob, forcing the Badgers to have to play aggressive into crossfire, resulting in their HP to evaporate. Holding strong without losing a single tank, the Comets secured the victory and will be joining the ANZPL in season 5.
South Sydney Skorpions vs Perth Panthers
With one spot left in the Grand finals, both teams were ready for the match of their lives. Starting out with the Panthers’ pick of Prokhorovka, the Skorpions once again brought a Strv 103B but this time in a completely different position. Goober felt the pain early, with Night landing a shot with his 60TP as he crossed the rails to spot. The Panthers cautiously approached A9 anticipating a Strv but a sudden push on the 1 line caught them off-guard with LightningMan getting taken out. Panthers tried to pressure A6 but found themselves in crossfire, losing their second tank in the process. It was only a matter of time for the Skorpions to regroup and take out the survivors, taking an early lead.
Swapping sides, the Panthers set up to punish an eastern side push, with an IS-7 and a S. Conqueror on the island. The Skorpions, lacking a light tank, struggled to gain information on where the Panthers had set up and burned a lot of time trying to do so. Eventually opting to gamble on an eastern push, the Panthers shredded the Skorpions on their approach. A timely rotation of Goober saw Napalmer get double-teamed and with two incredibly mobile tanks still left on the field the Panthers comfortably levelled the score 1-1.
With the Skorpions’ map pick of Mines ahead, the Panthers certainly knew they were in for a rough ride, with the Skorpions having a fantastic win-rate on this map. The Cats on their defence opted to bunker down in static positions. After taking control of the 1 line and hill, the Skorpions probed for information near the 1 flag, with JT bleeding for his efforts. Plan B saw the Skorps pressure the 2 flag with JT but realising the capture was not viable, the Skorpions grouped Auzzi and JT to push out Goober. With Auzzi now pressuring the capture, the Panthers attempted to repush the hill but bled a significant amount of HP in the process. The frantic ending saw LightningMan flipped vertically, Russian flipping in hot pursuit and Auzzi sending his tank off a cliff in flames. Night was the calm and collected one who managed to un-flip Russian, and with the help of JT, managed to take down LightningMan for the victory before time expired!
The Panthers opted for a mid brawl on their attack only to find no opponents there! The Skorpions instead opted to send their double CS-63 to the 1 line and defend with the remainder of their forces. Goober over-extended towards the 1-2 lines and ended up bleeding a lot of HP retreating out. Realising a 2 flag push was impossible, the Panthers opted to rush the 8 line at the cost of a lot of HP. The Skorpions held strong and despite two of their tanks being set on fire, the early bleed meant that the HP was strongly in their favour as the team cleaned up for a 3-1 lead.
Moving onto Himmelsdorf, the Panthers committed most of their forces to the hill, with LightningMan supporting Goober’s IS-4 in the low ground. The Skorps set up to defend the 1-2 line and quickly realised that a push wasn’t coming that way. As the Panthers applied cap pressure on the 2 flag, Goober was suddenly rushed by JT and Night, barely getting away. The Panthers reacted by trying to push out Russian’s Maus, but the mighty Maus proved to be an absolute unit, managing to deflect over 3000 HP of damage with the support of Napalmer and Auzzi. With the Panthers overpowered in both brawls, some focus fire was all that was needed to send the Skorpions to the Grand Finals for their rematch against their rivals, the North Sydney Sentinels.
ANZPL Steel Hunter Tournament
The action hasn't finished off for this week just yet, as this Friday, we will be having a Steel Hunter tournament between our ANZPL and ANZBL teams! They've proven themselves in the 5v5 battlefield, now let's see how their skills work in looting and taking the number 1 victory royale!
We'll be live this Friday, with KaRath taking you through all the action - live at 8:30PM AEST (UTC +10), alongside the usual drops (set at 30 minutes each)!

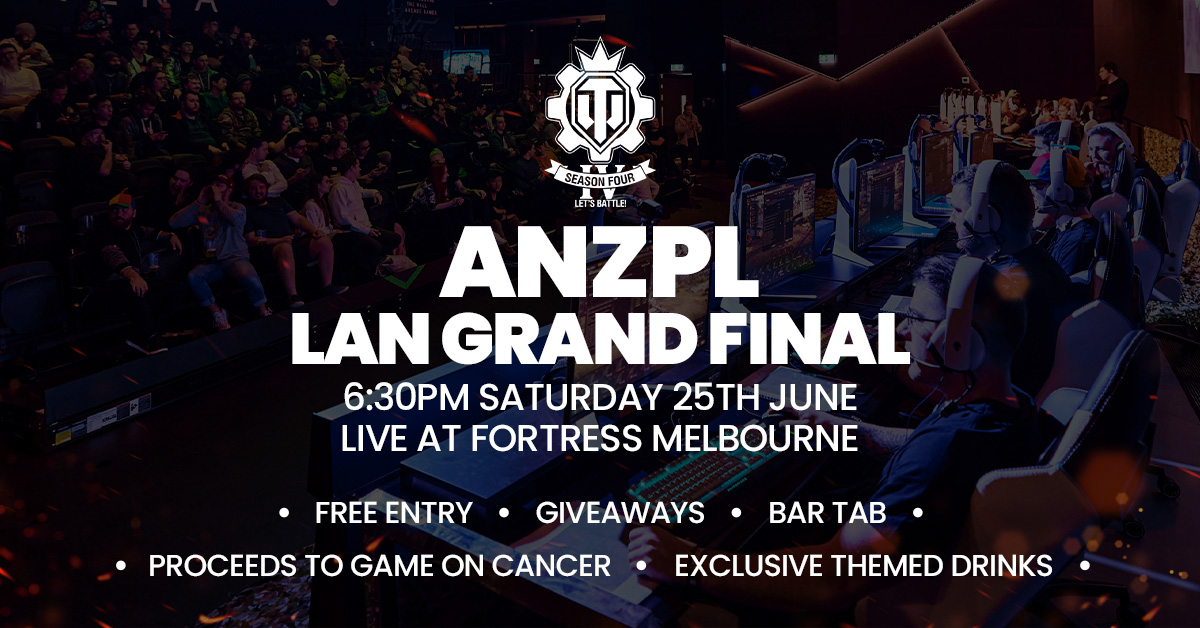
ANZPL Finals
After twelve weeks of frantic action, of course, there is the finals at Fortress Melbourne - if you've missed the memo, you can find it again here!
But why read when you can just register here and we fill you with buzzwords, such as amazing action, bar tab, and proceeds to charity!