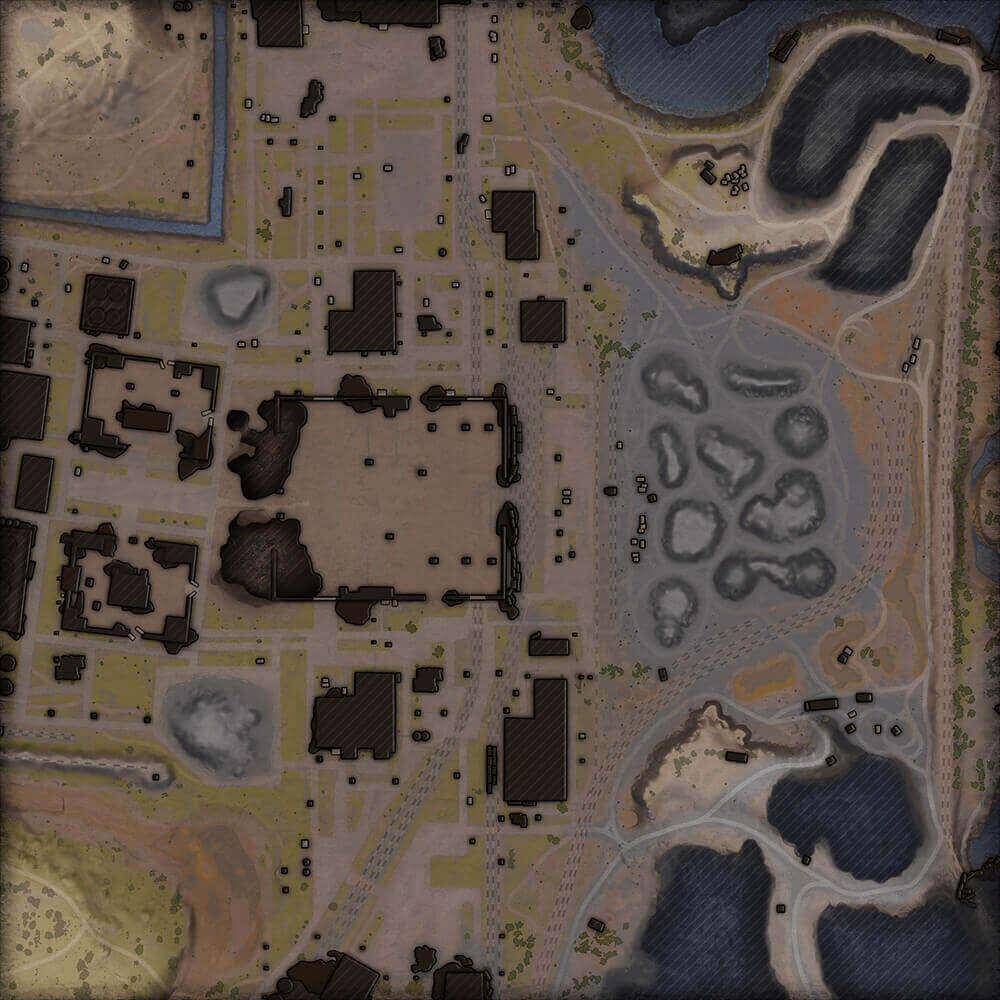


The lowland with hangars is on the same level as the rest of the map now, opening clear shots all the way to the middle area.


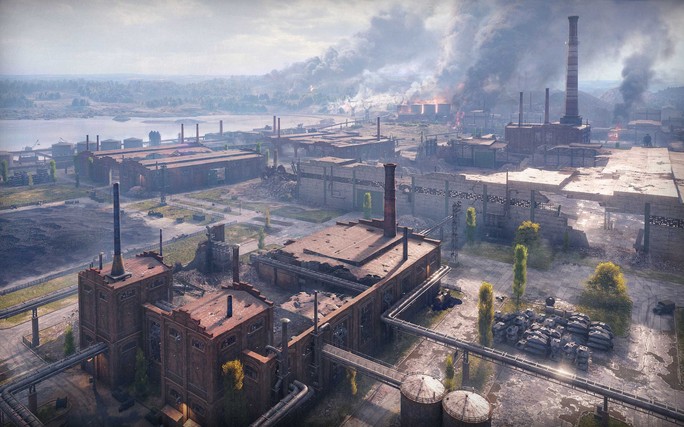
Hangars were repositioned to provide favorable shooting distances. Now, they’re scattered across the center of the flank, putting an end to quick break-throughs that used to happen way too often here.

Hangars were repositioned to provide favorable shooting distances. Now, they’re scattered across the center of the flank, putting an end to quick break-throughs that used to happen way too often here.


We’ve added hills to the north- and south-west. If you’re driving a TD, leverage them to help protect the base and/or hold enemies that are using the road to the left from the hangars to break into your territory.


Now, you can crossover to the left flank using a newly added road close to the hangar (3).


The distance between bases has increased, with both camps getting cover spots to set up a solid defensive line to protect their bases.


A few buildings disappeared, so you now have a clear shot at bases from the center of the map.

A few buildings disappeared, so you now have a clear shot at bases from the center of the map.


The right flank’s been through a complete makeover. Now, it’s less about brute force and more about mobile lights and mediums working together among coal hills (5). Scouts can poke over hillsides to detect enemies lying in cover nearby and in TD spots (6). Mediums should keep behind lights and fire on anything that’s been spotted. TDs are tasked with hunting down lights and mediums between hills and taking down enemy TDs that were careless enough to expose themselves.


Added a covered position on the aircraft carrier, allowing the northern team to retake it.

Balanced the shoot-throughs to allow hitting the tanks rolling onto the carrier.

Added covered positions helping the northern team move from behind the carrier.

Nerfed a TD position for the southern team that allowed to shoot at everything along the central fault line.

Improved the northern side’s positions near the serpentine road.


Adjusted the terrain; made the stone walls taller. No more sniping shoot-throughs here from the southern side.

Put a pile of rocks into the arch and by the corner of the house to fortify this position for the northern team.

Put a pile of rocks by the corner of the house to fortify this position for the northern team.

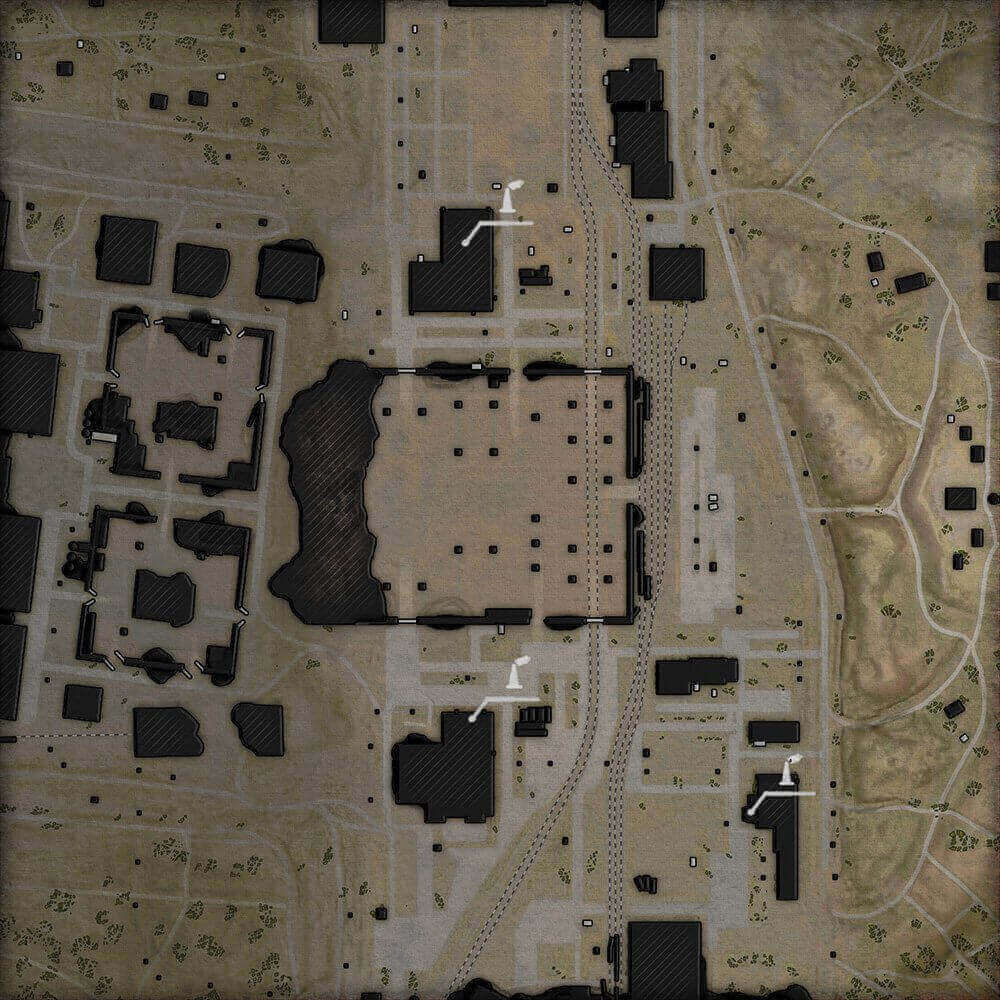
Moved the stone wall a bit to create a shoot-through for a new TD firing position (5).

Created a new TD firing position with bush coverage and with a good view of the main attack directions and the city exits.

Added a pile of rocks to negate sniping on the passage.

Adjusted the terrain inside of the block. More opportunities for the northern side to press on the opponents and force them to leave cover.


Added a rock pile here. It will make pushing through the enemy lines and countering their moves more convenient in this direction.


The positions of the south-spawning team on the small island have been improved.

Improved positions for tank destroyers spawning in the south: reduced the height of the rocks (resulting in a clear shoot-through on both islands), added thicker bushes and created more space.

Added a position on the verge for the south-spawning team, allowing better control of both islands.

The spawn of the south is a little closer to the islands and the center of the map.

Turned the house to allow south-spawning tanks to have a good shoot-through at the north-spawning team. The north-spawning team already have this ability.

A corner slope has been added to the monastery: south-spawning tanks will now be able to attack this direction.

Added a small stone shelter.

Improved position for the rock, making it easier to hide behind.

Added shelter near the base, which should cause a fight in case the teams capture different plateaus, thus reducing the number of draws on the map.

Added shelter near the base, which should cause a fight in case the teams capture different plateaus, thus reducing the number of draws on the map.

The chamber is removed from the defending verge.

The chamber is removed from the defending verge.

Added a position near the monastery.

Additional improvement to the positions near the base.

Additional improvement to the positions near the base.


Revamped bushes.

Revamped bushes.


A small defending position added.
